DECADE Elite installation
Installation videos
Step 1
Unpacking and powering up. Set the temperature to stabilize in preparation of the OQ test
STEP 2
Install the dummy cell and let it stabilize in preparation of the OQ test. In total, about one hour stabilization time is needed before starting the OQ (step5).
Step 3
Step 4
Install Clarity and Dialogue Elite software.
Step 5
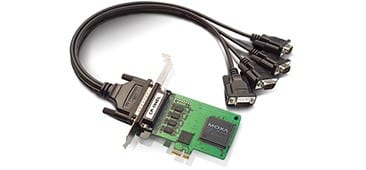
Install PCI-serial card drivers.In case the PC is equipped with Antec’s PCI – serial card, it is now time to install the drivers. Click here to download the zip file and install the drivers.

Step 6
Perform the OQ test – Part 1: Dummy cell noise test. Part 2: Analogue output test
Final step
Familiarize an end-user with the instrument and explain how to do maintenance and troubleshooting. A set of useful videos for this purpose can be found here. Complete and sign the IQOQ document after finishing.
Change PC IP address
The IP address can be changed in the Windows 10 control panel.